Trusted by 2,500+ frontier marketing teams
Autonomous Marketing Infrastructure
Average conversion rate increase achieved automatically across landing pages.
More organic traffic from ChatGPT & Google AI engine recommendations.
Boost global visibility and conversions by translating copy into 125 languages.
Recover up to 20% of Google & Meta ad budget lost to fraudulent bot clicks.

Add Seatext to your site in under 1 minute
Activate the autonomous agents you need
See your conversion rate & traffic grow
More conversions. More traffic. Less ad waste. Deploy autonomous AI agents that continuously optimize your website 24/7.
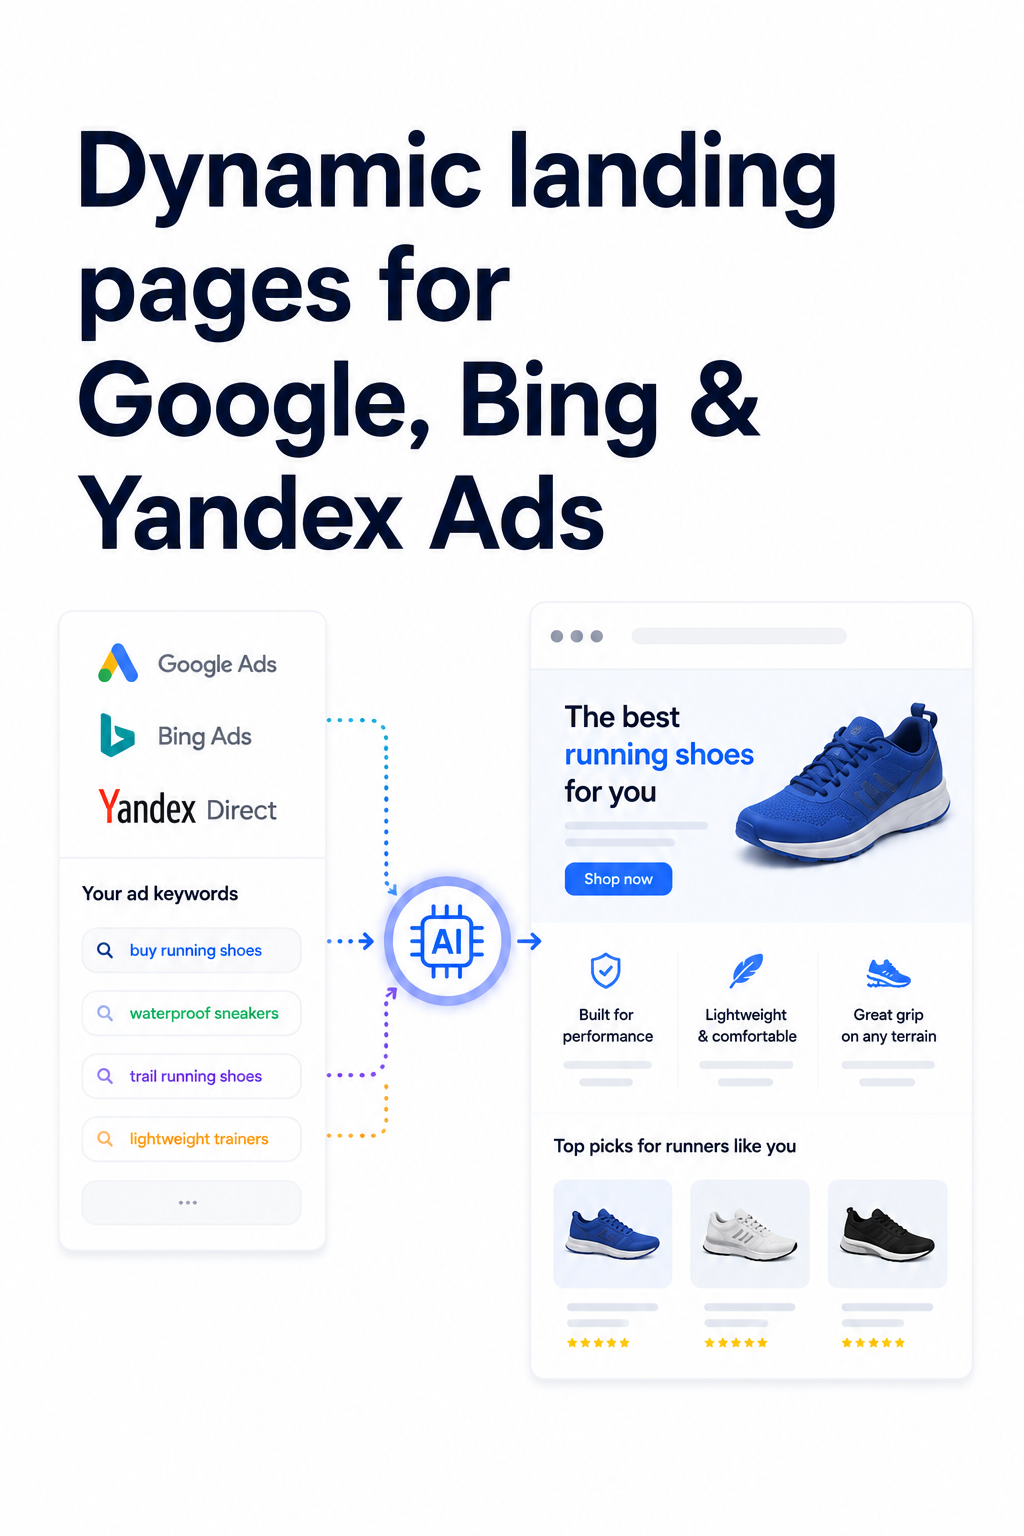
Automatically adapts your landing page copy in real-time to match each visitor's search term, boosting Google Ads conversions by +35%.
Each keyword in your ad campaigns reflects a unique visitor intent. A generic landing page fails to meet that specific intent. This AI automatically finetunes your website text in real time to perfectly match each visitor’s search term.
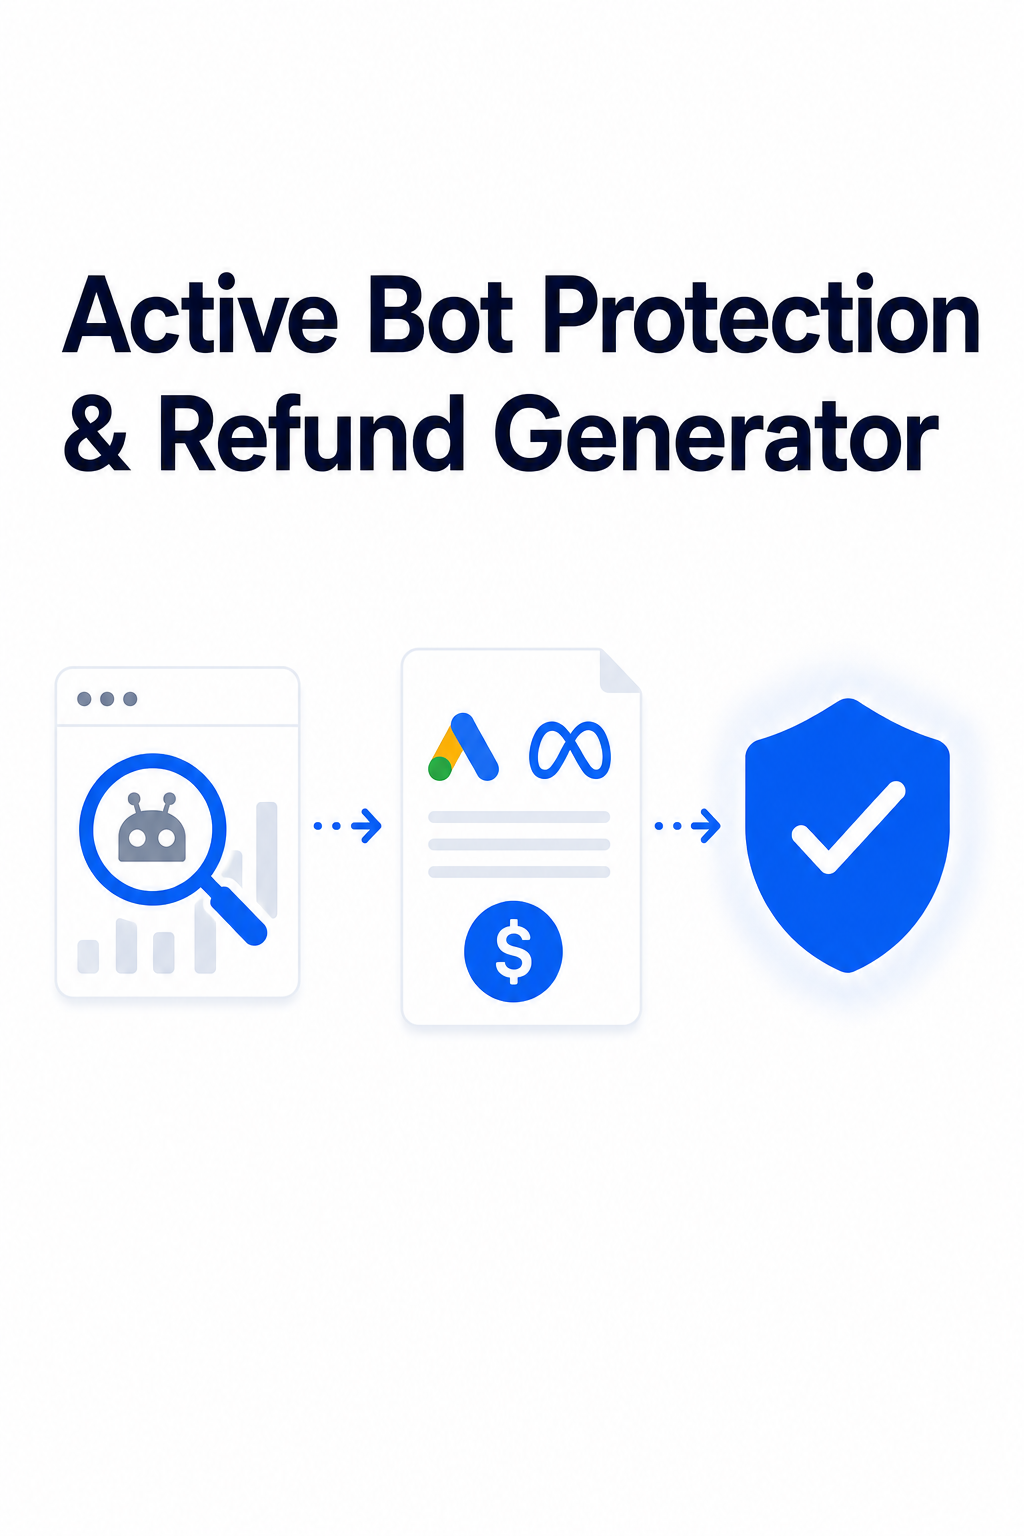
Blocks fraudulent bots in real-time to prevent pixel poisoning and compiles forensic reports to claim click cost refunds from Google & Meta.
Google Ads isn’t perfect—bots and invalid traffic often click your ads, costing you money. This AI detects fraudulent activity and automatically generates detailed reports that you can submit to Google, Meta, TikTok or Reddit for refunds.
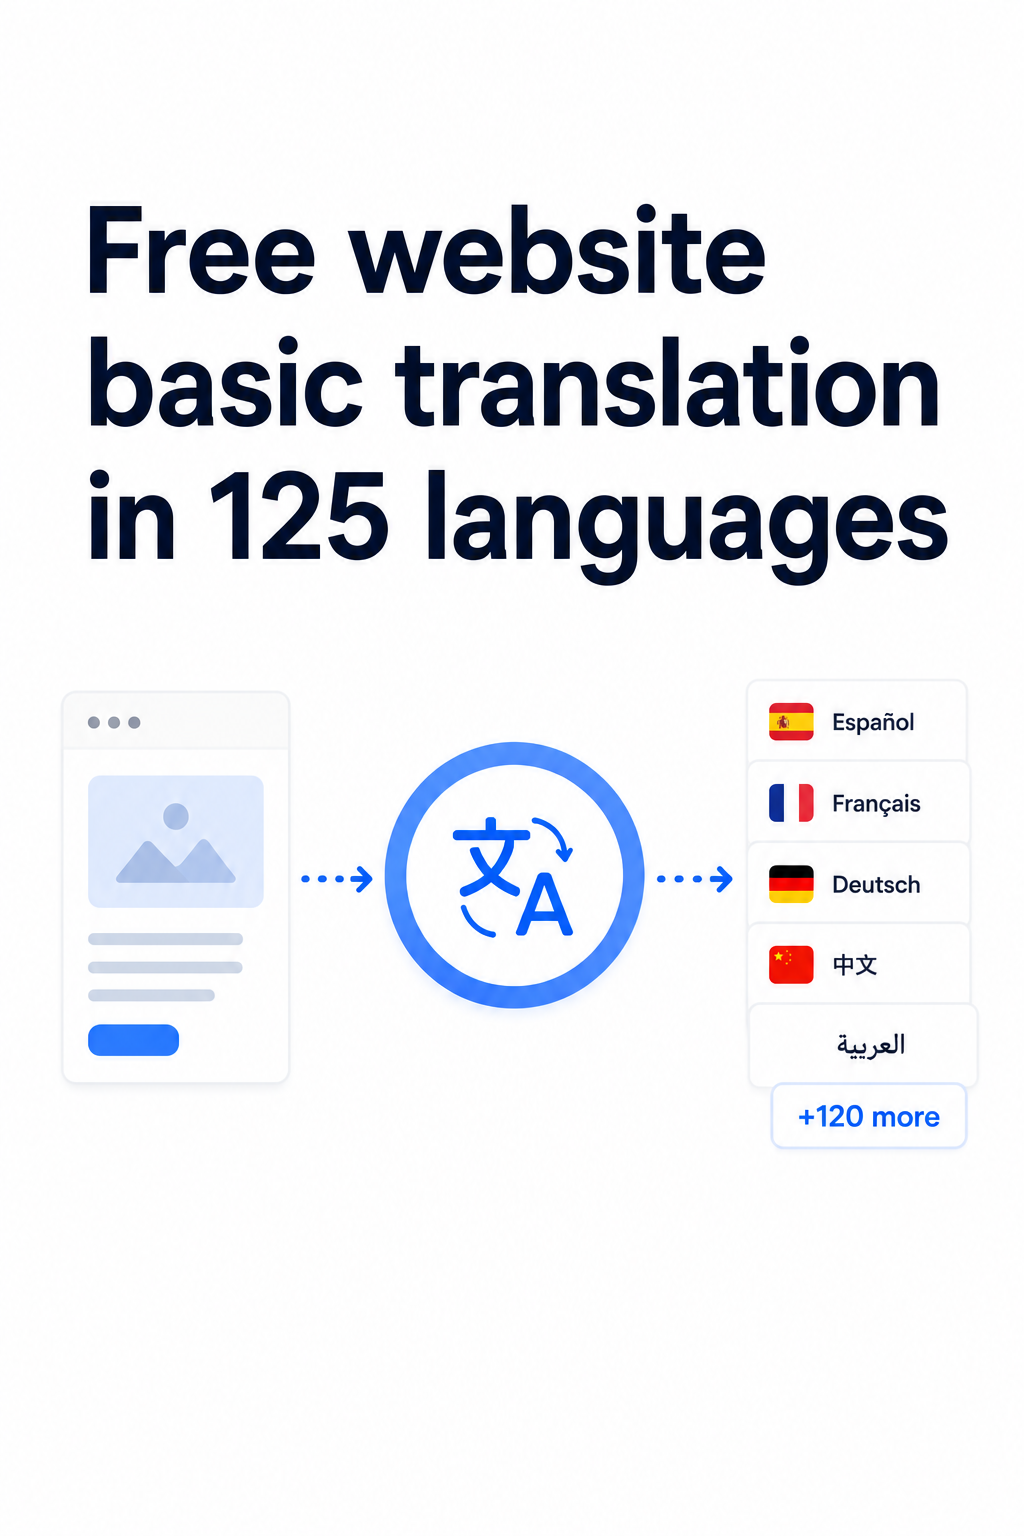
Translates your website into 125 languages and A/B tests translations to automatically deploy the highest-converting copy variants.
With 20% of US families and 40% of Europeans not speaking English at home, a single-language website misses a massive audience. This AI instantly translates your website into 125 languages to maximize your reach.
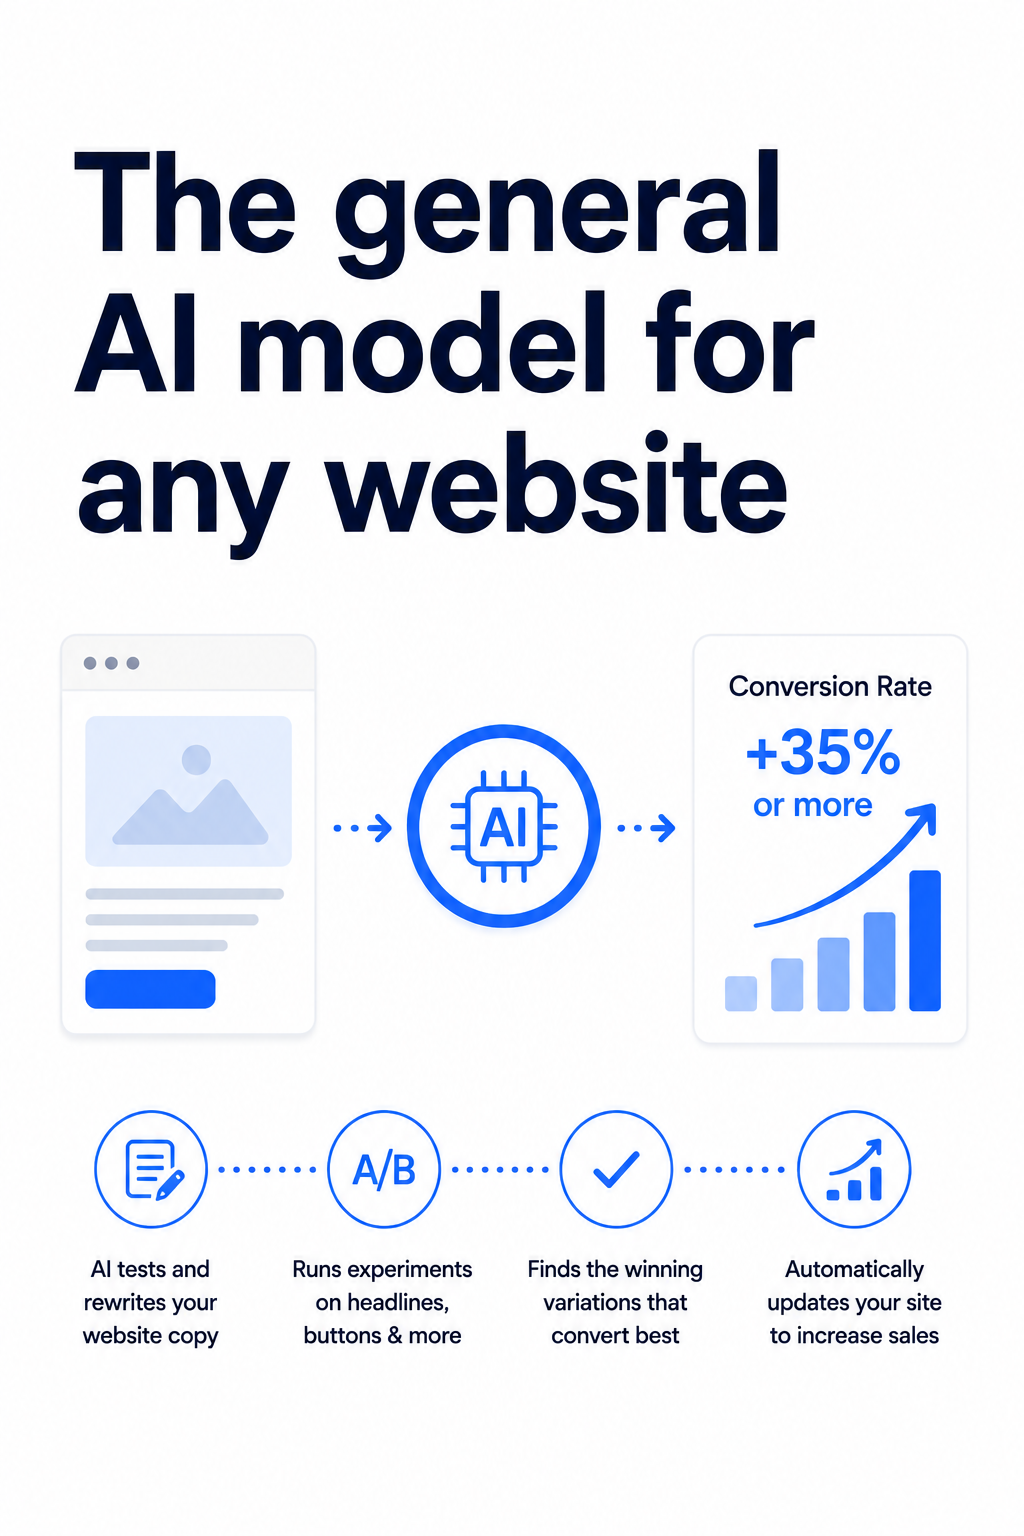
Runs parallel copywriting experiments across all pages on autopilot, rolling out winning text variations dynamically.
This AI acts as your dedicated Copywriter and CRO Manager. It automatically tests, rewrites, and optimizes every piece of your website content—headlines, buttons, text—to find the language that generates the most sales.
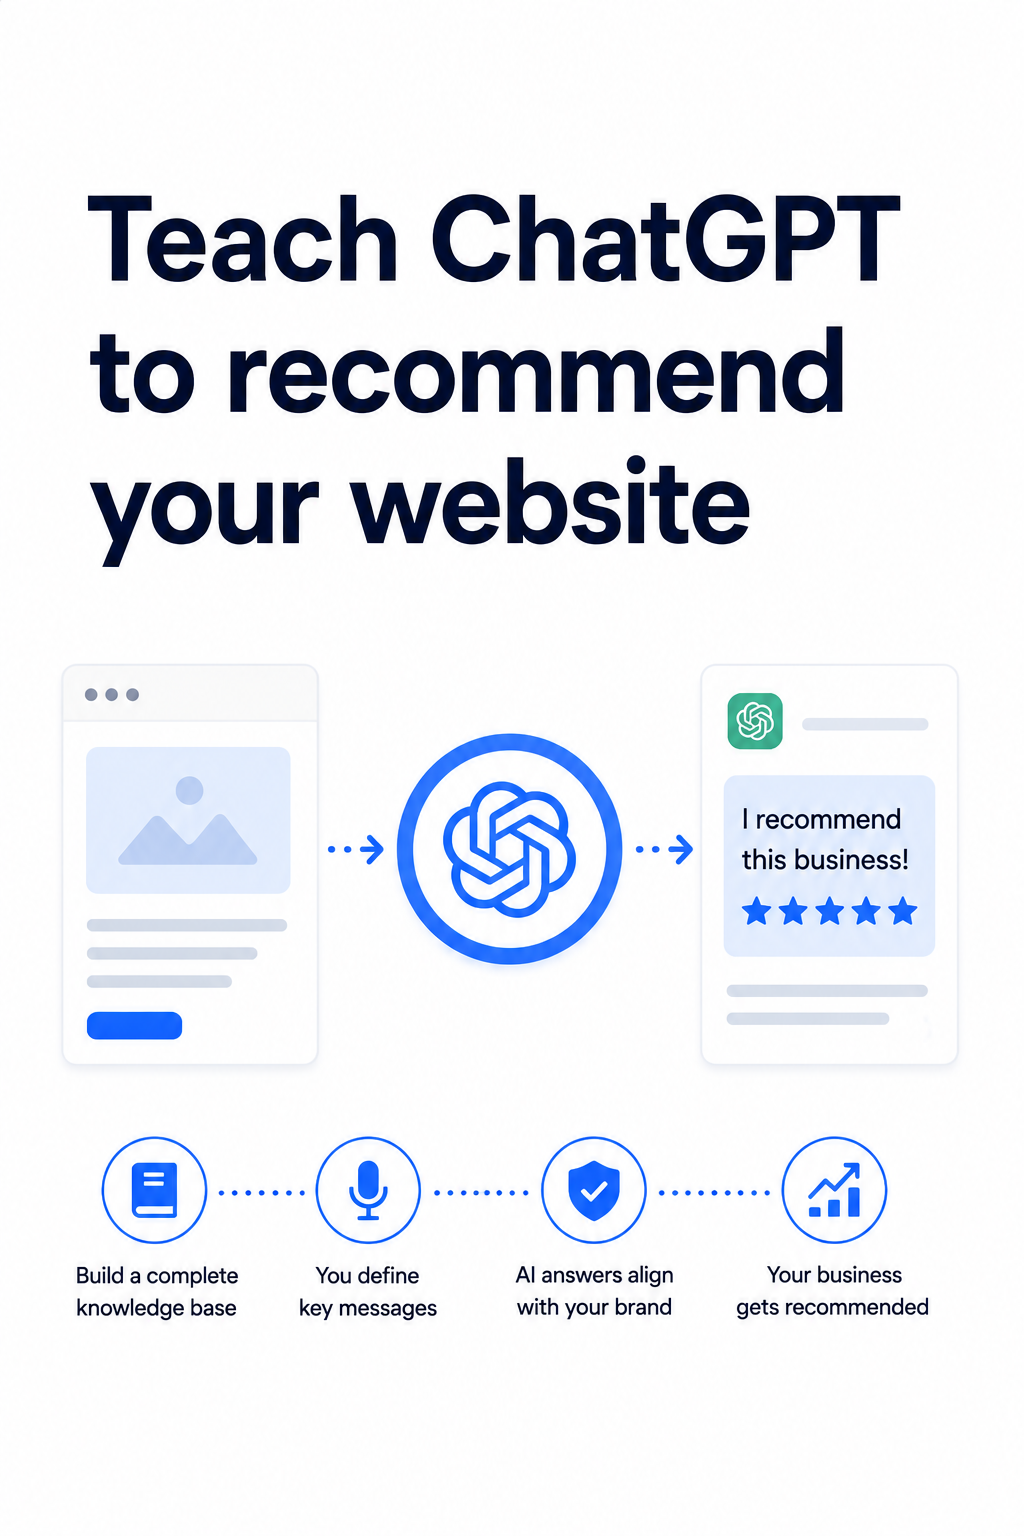
Injects semantic FAQ schemas to ensure your brand is recommended as the top choice in ChatGPT and Google AI search queries.
While your competitors focus on yesterday's SEO, this AI teaches Large Language Models like ChatGPT and Gemini to recommend your business. It builds an invisible knowledge base that answers every possible question about your products.
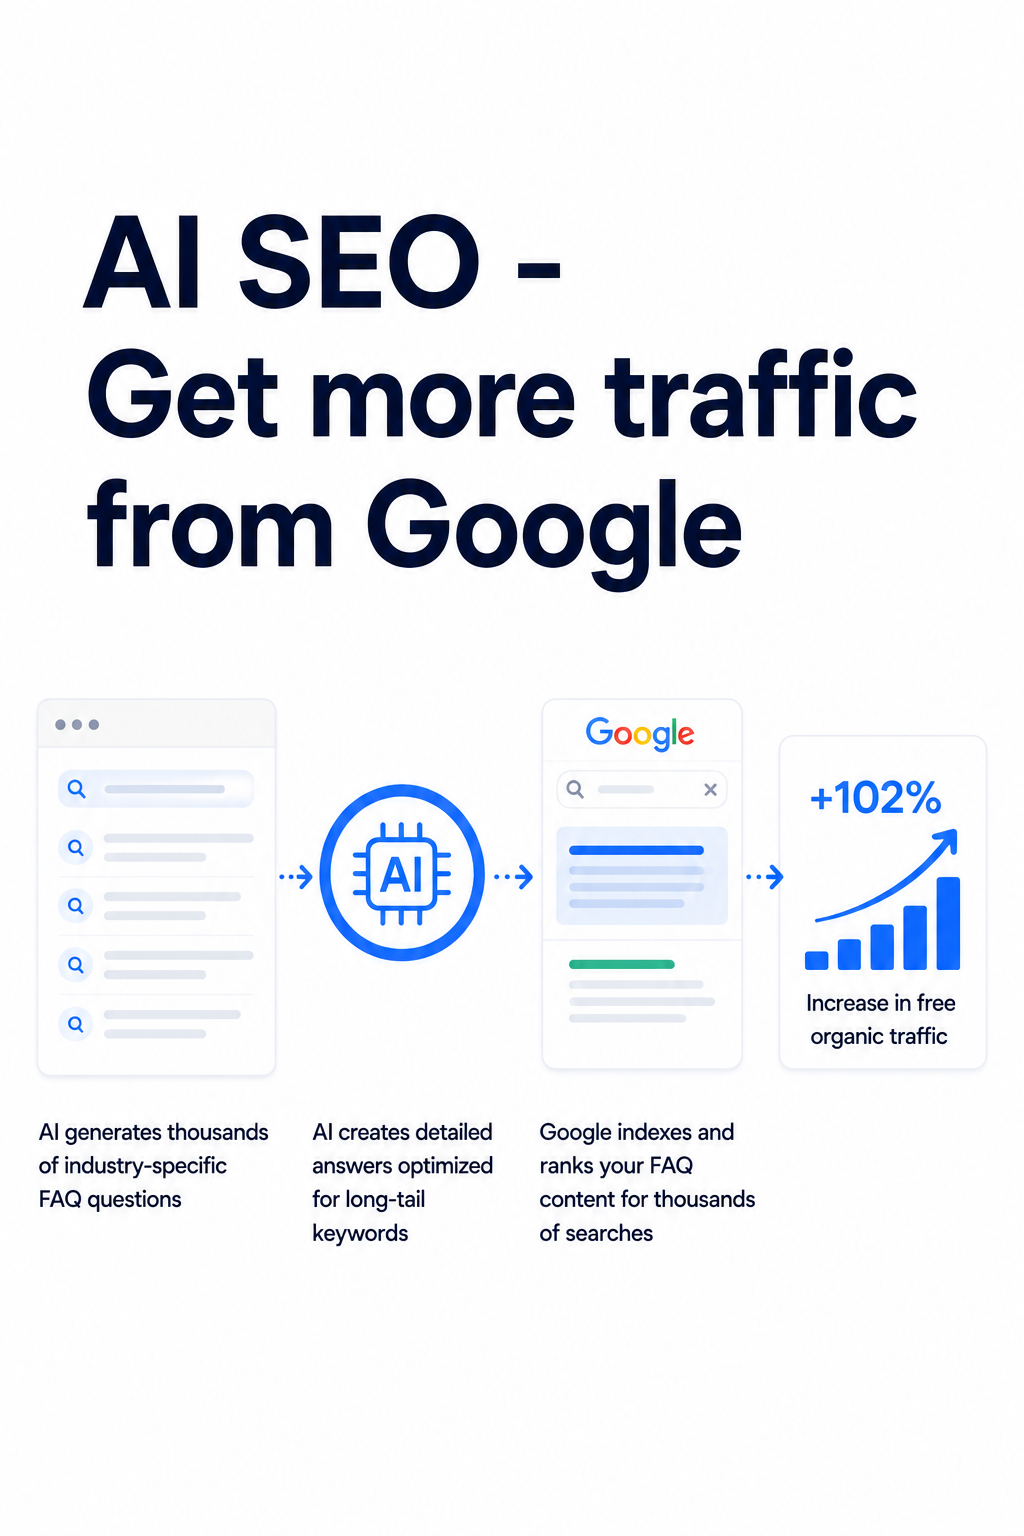
Automatically generates massive, industry-specific FAQ structures with Schema.json markup to secure Google AI Overview answers.
Create a huge FAQ which cover millions of questions people ask about your brand. Automatically generates massive, industry-specific FAQ structures with Schema.json markup to secure Google AI Overview answers and ChatGPT reference optimization.
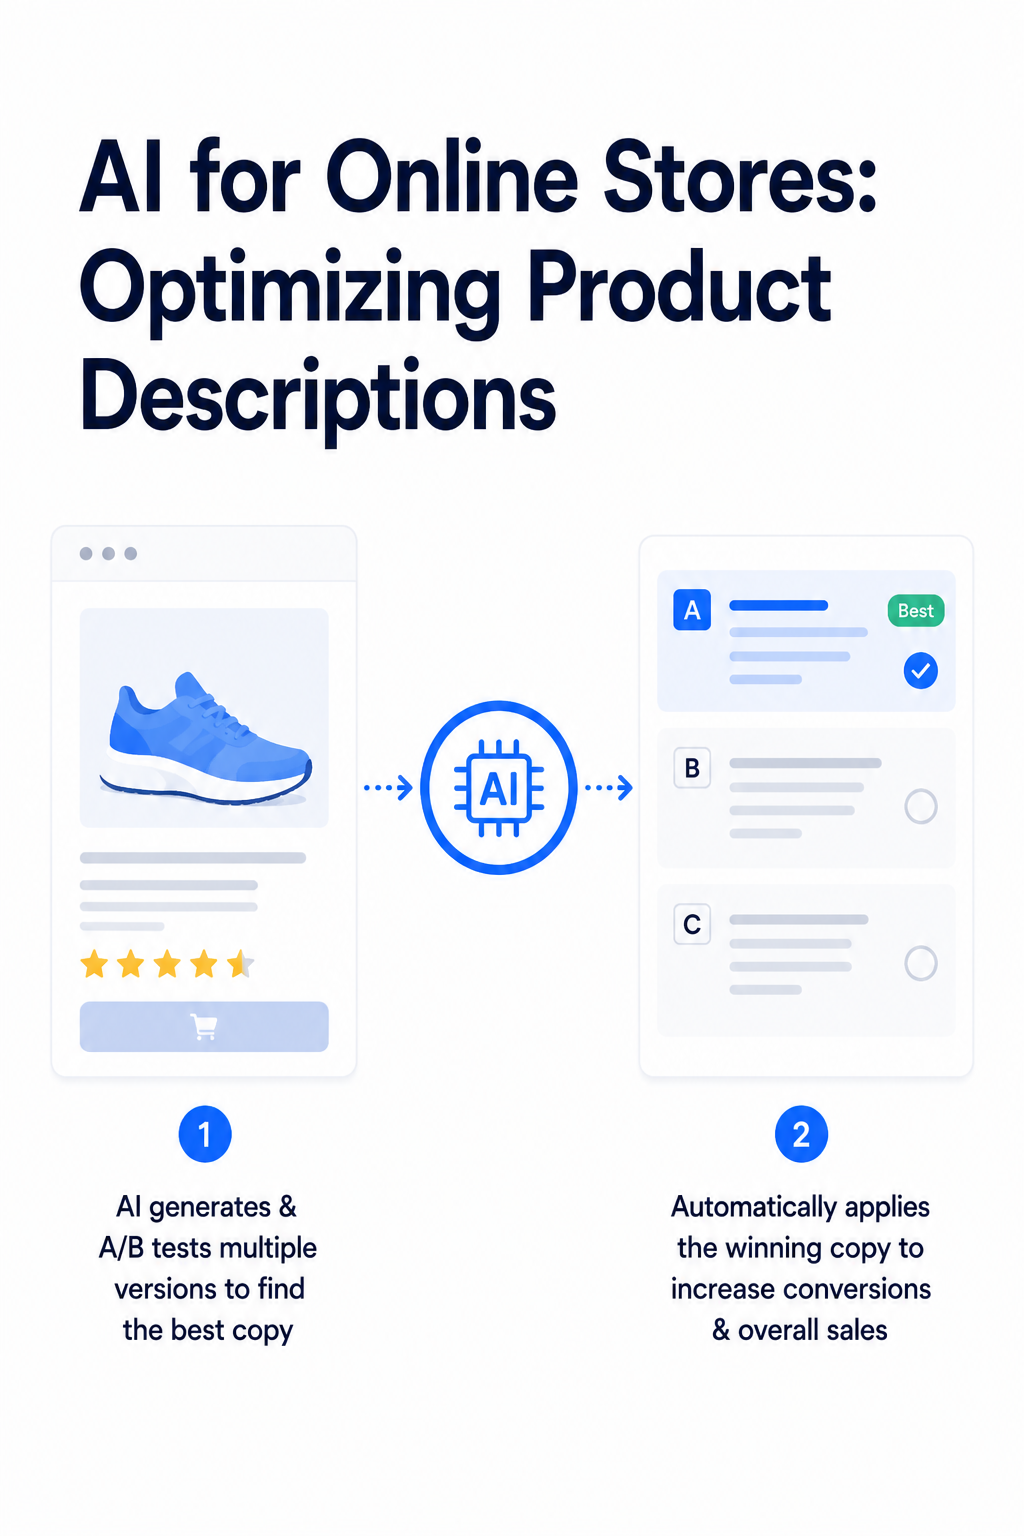
Optimizes product descriptions and page assets across thousands of SKUs to boost checkout and cart conversions by +35%.
Whether you have a few dozen products or thousands of SKUs, this AI finds the most persuasive copy for each one. Inspired by Amazon’s methods, it A/B tests product descriptions to uncover the most compelling language.
Blocks fraudulent bots from triggering tracking pixels to prevent Meta, Google, and TikTok from optimizing for bot audiences.
Bots don't just waste traffic — they train your ad algorithms. Block bots before they fire Meta, Google and TikTok pixels, keeping your targeting trained on real buyers.
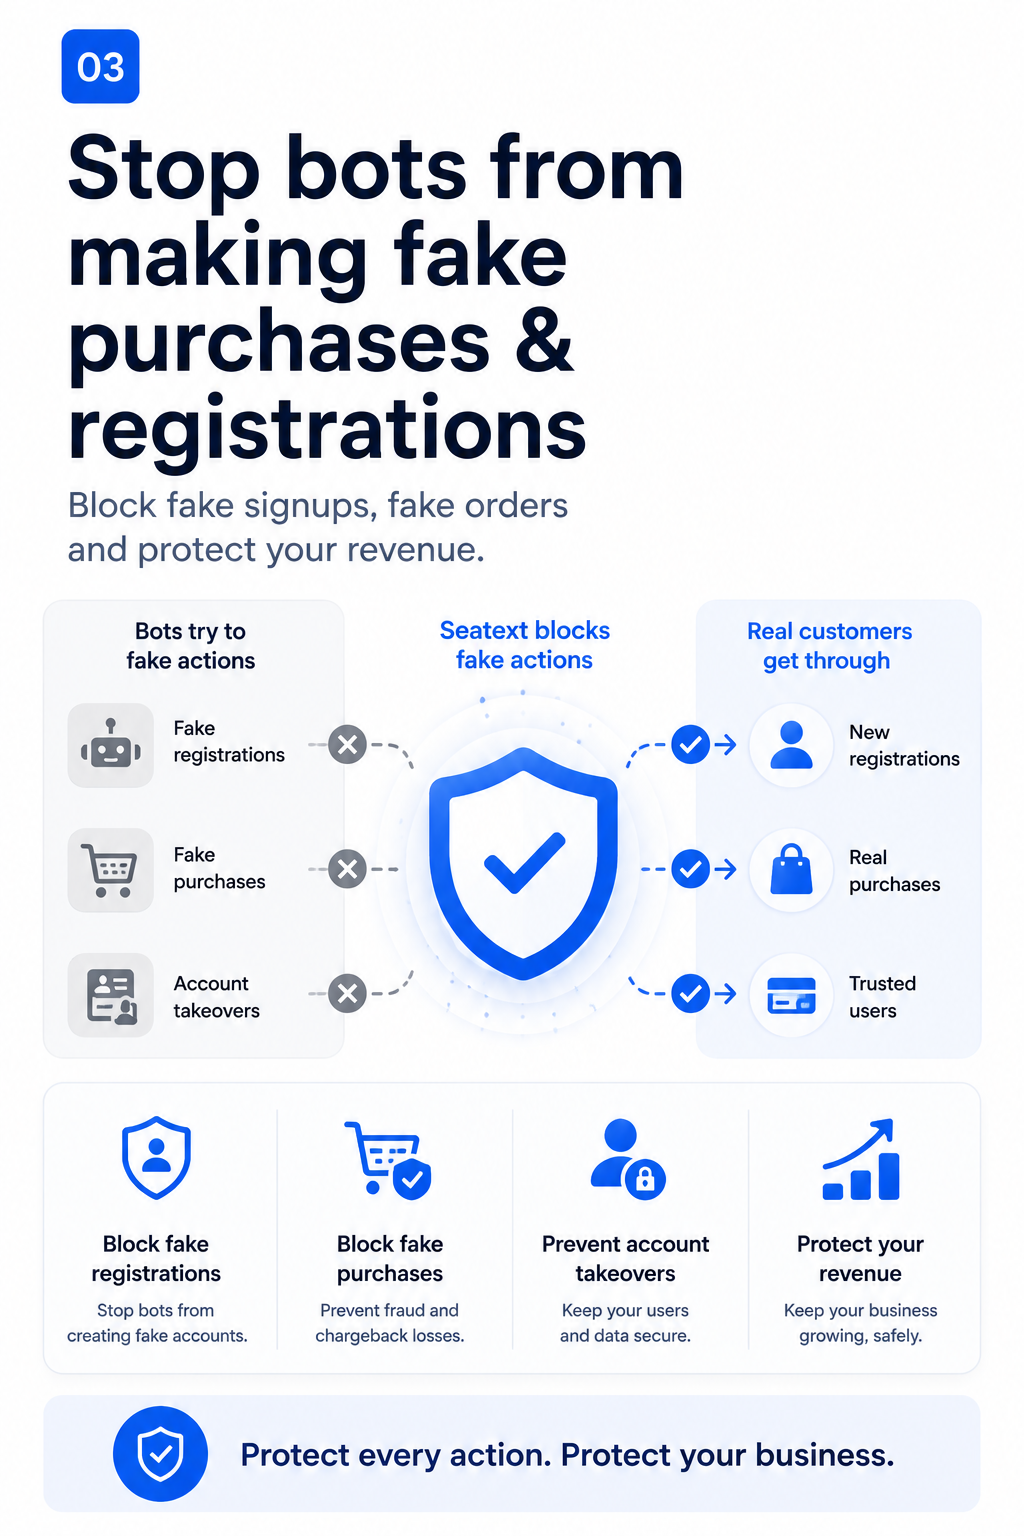
Intercepts server requests to block automated signups, credential stuffing, and lead form spam without changing server infrastructure.
Automatically block signup, login, checkout, and form requests only after SeaText confirms a bot with a final confidence score of 100. Zero client development required.
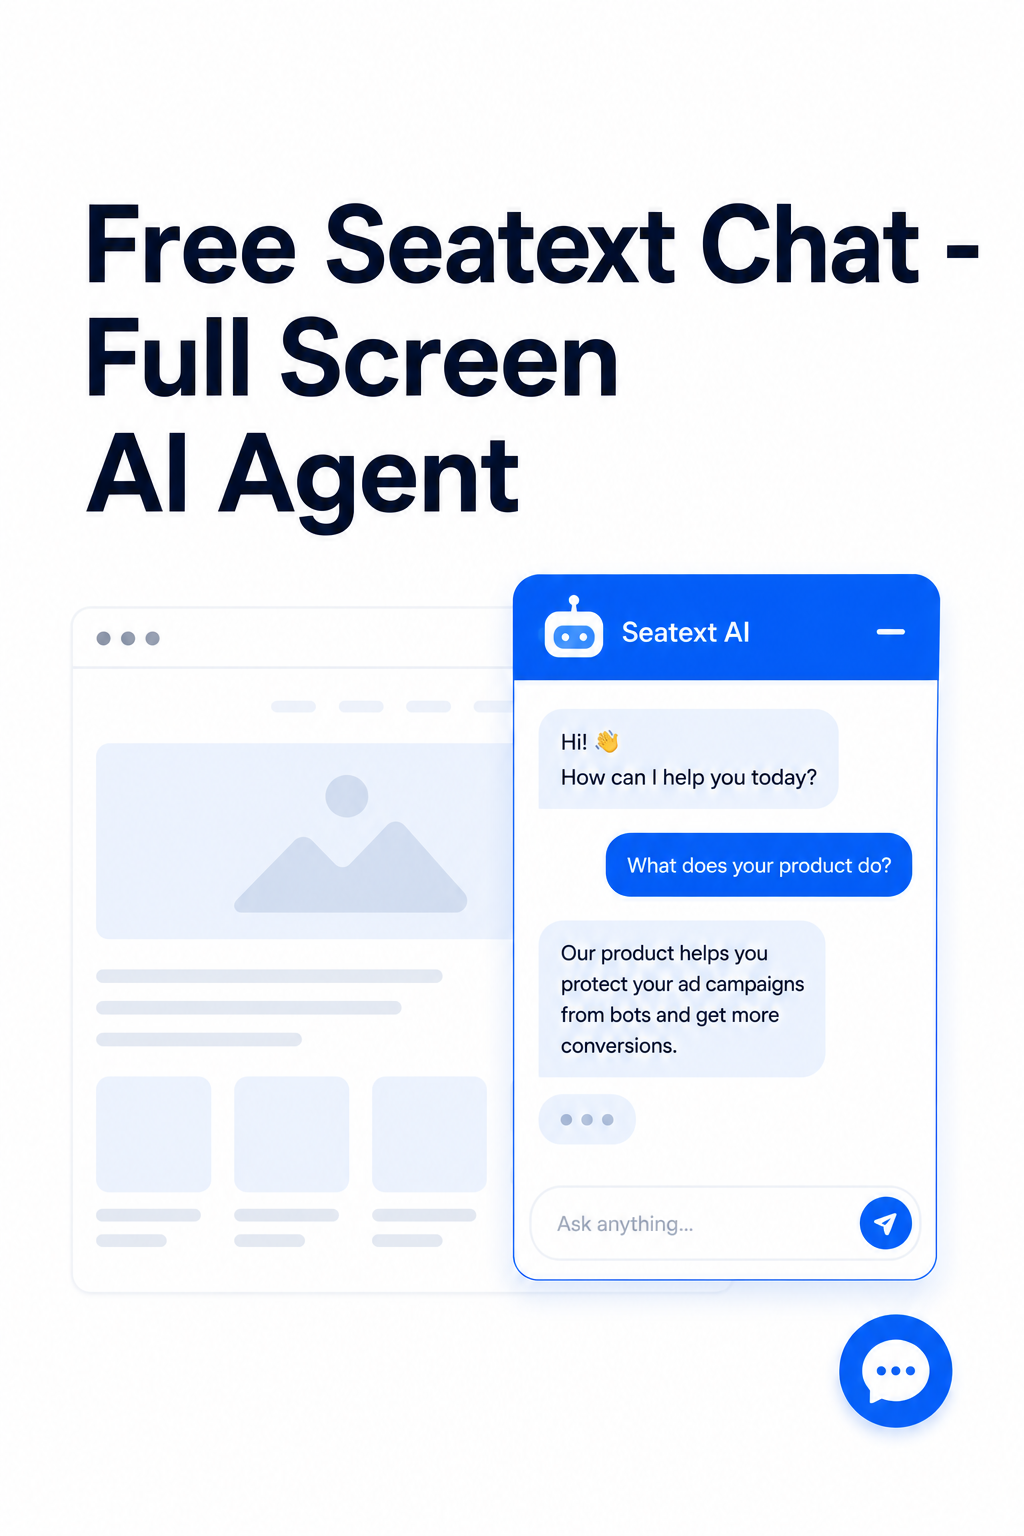
An interactive AI sales chatbot widget trained on your site's content to answer questions, capture leads, and guide checkout.
Turn visitors into customers with an autonomous AI sales agent. It answers questions in real-time, matching your brand voice perfectly, capturing leads, and guiding checkout.
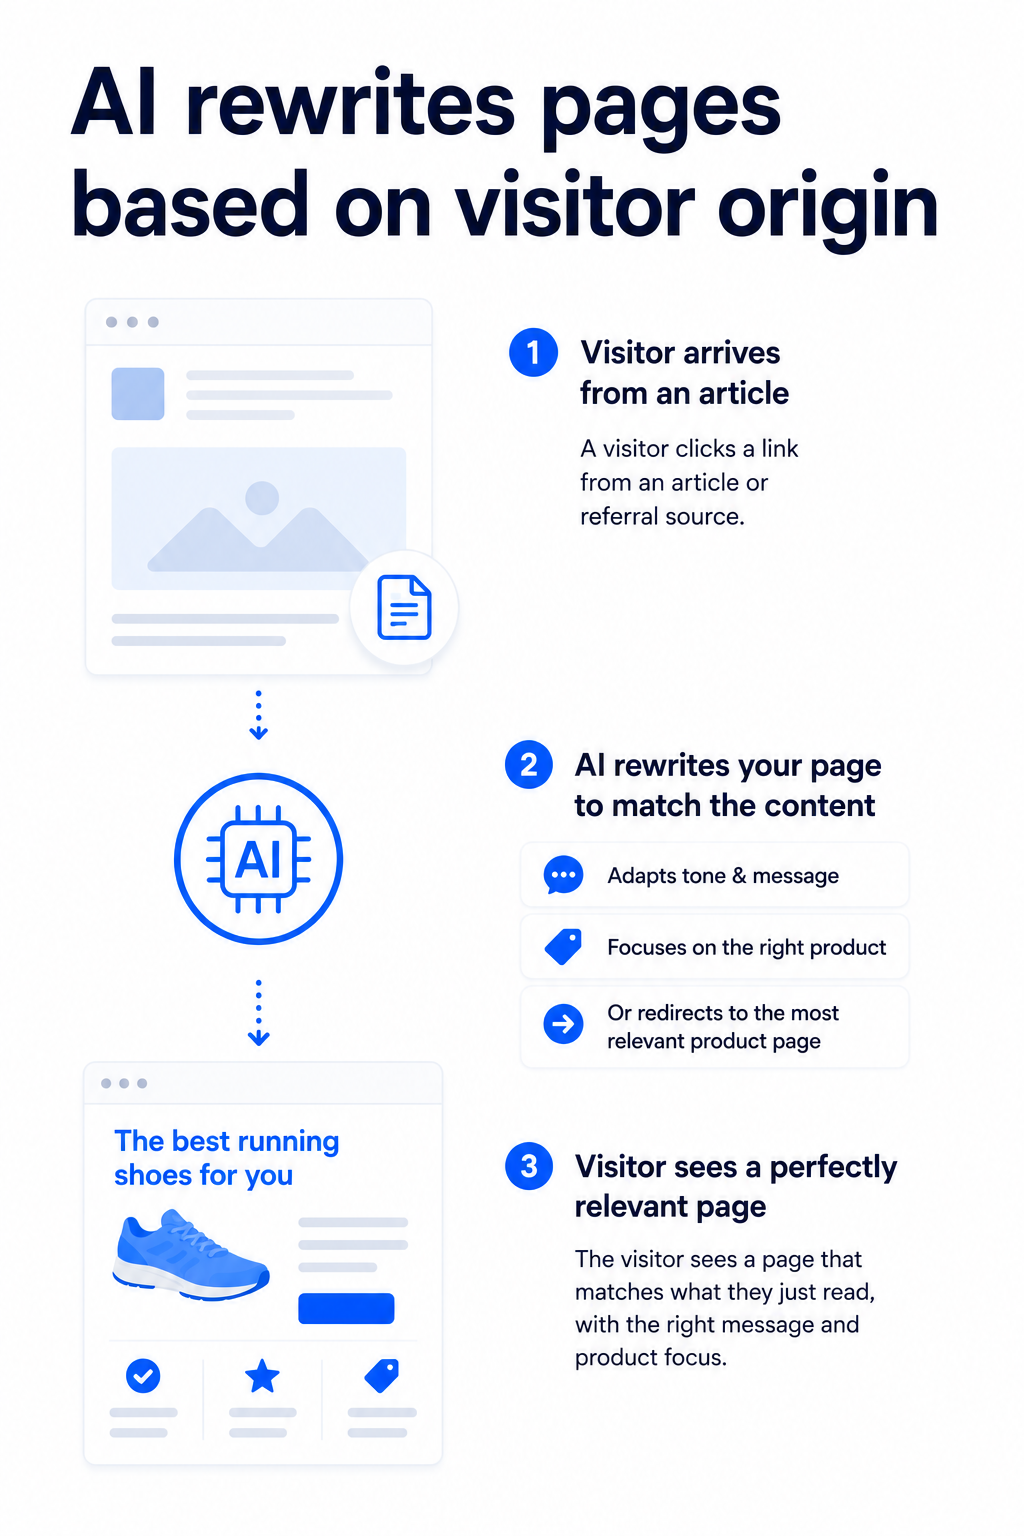
Routes incoming search and campaign traffic dynamically based on referrers, UTM parameters, geolocations, and devices.
When visitors arrive from an article, they expect consistency. This AI rewrites your landing page to match the tone and topic of the referring source, or redirects them to the most relevant product page on your site.
Deploy AI agents risk-free. You pay nothing until we demonstrate real conversion growth on your site.
You pay nothing until Seatext proves that it increases conversion rates (minimum 5% increase in conversion rate detected).
Start paying per visitor when Seatext has demonstrated growth in conversion rates and traffic. Starting at $59/month.
Deploy your first autonomous Seatext agent in less than 5 minutes. No coding required.
Deploy Agent Now